Safe and Effective Methods for Empty Pots and Pots with Plants
This guide provides a structured, step-by-step approach to cleaning terracotta pots while addressing both non-toxic and toxic cleaning options. It also covers the specific methods needed when cleaning empty pots versus those containing living plants, along with key preventive measures to maintain pot health.
1. Understanding Cleaning Needs
Terracotta pots often accumulate:
- Mineral Deposits: Salt build-up from hard water.
- Fungal Growth: Mold or mildew due to poor soil conditions or excessive moisture.
These issues can be effectively managed using either non-toxic or, in more severe cases, toxic cleaners—always considering the pot’s use.
2. Choosing the Right Cleaners
Non-Toxic Options
-
Vinegar and Water Solution:
Mix 1 part white vinegar with 4 parts water to dissolve mineral salts and reduce mold. -
Lemon Juice and Water:
Use a similar ratio as vinegar; the natural acidity helps break down deposits while leaving a fresh scent. -
Baking Soda Paste:
Combine baking soda with a little water to form a paste; ideal for scrubbing stubborn fungal marks.
Note: These options are safe for both the environment and living plants, though caution is needed to avoid altering the soil’s pH when the plant remains in the pot.
Toxic Options (Use with Caution)
-
Bleach Solution:
Dilute 1 part bleach with 9 parts water for disinfection. -
Commercial Pot Cleaners:
Ensure you read and follow label instructions, as many contain harsh chemicals that can damage plant life.
Important: Toxic cleaners should only be used on empty pots or after removing the plant to prevent soil contamination and plant damage.
3. Is Disinfection Necessary?
For Empty Pots
-
Disease Prevention:
If a previous plant had a disease, disinfect the pot to prevent pathogen transfer. -
Method:
Use a bleach solution (1:9 ratio) and allow the pot to dry completely before reusing it.
For Pots with Living Plants
-
Surface Cleaning:
Only clean the exterior using gentle, non-toxic solutions (e.g., diluted vinegar or mild soap) to avoid disturbing the plant’s root system. -
Alternative Approach:
If disease is a concern, repot the plant into a sterilized pot with fresh soil.
4. Essential Tools and Materials
Brushes and Cloths
-
Small/Indoor Pots:
A soft-bristled toothbrush is ideal for delicate scrubbing. -
Larger/Outdoor Pots:
A handheld scrub brush with stiffer bristles effectively removes tougher grime. -
Tip:
Brushes are preferred over cloths because they are easier to clean and dry, reducing the risk of spreading pathogens.
Water and Protective Gear
-
Water Temperature:
Use warm water to speed up cleaning and dissolve residues. Cold water can be used if necessary but may be less effective. -
Protective Gloves:
Wear gloves to protect your skin, especially when handling acidic or bleach solutions.
Cleaning Agents
-
Mild Dish Soap:
A gentle option that cleans without harming the pot’s surface. -
Vinegar and Baking Soda:
Effective for tackling mineral deposits and organic stains.
5. Step-by-Step Cleaning Process
For Empty Pots
-
Remove All Contents:
Take out any plants and soil to allow thorough cleaning. -
Dry Brushing:
Use a brush to remove loose dirt and debris from all surfaces. -
Prepare the Cleaning Solution:
- For general cleaning: Mix 1 tablespoon of mild dish soap per gallon of warm water.
- For mineral deposits: Use a vinegar solution (1 part vinegar to 4 parts water).
- For heavy mold: Consider a bleach solution (1:9 ratio), but only if the pot is empty.
-
Soaking:
Submerge the pot in the cleaning solution:-
Light Deposits: Soak for 3–6 hours.
-
-
Moderate Deposits: Soak for about 12 hours.
-
-
Heavy Deposits: Soak for at least 24 hours.
-
-
Light Deposits: Soak for 3–6 hours.
-
Scrub and Rinse:
After soaking, scrub the pot under running water to remove all residues. -
Final Rinse and Disinfection:
- Rinse in clean water for about 2 hours to balance any pH changes.
- Pour boiling water over the pot to finalize disinfection.
-
Drying:
Place the pot in a sunny, well-ventilated area until completely dry (no damp spots on any surface).


For Pots with Living Plants
-
Surface Cleaning Only:
- Use a soft brush to gently clean the exterior without disturbing the soil or plant roots.
-
Apply a Diluted Cleaner:
- Use a mild vinegar or dish soap solution applied with a sprayer.
-
Rinse Carefully:
- Rinse the exterior with water, taking care not to saturate the soil.
-
Repeat if Necessary:
- Gradually repeat the process (every 6–12 hours) until the deposits are reduced.
-
Preventive Adjustments:
- Consider using alternative watering sources and adjusting fertilizing practices to prevent future build-up.
6. Preventive Maintenance
-
Regular Inspections:
Check for signs of mineral build-up or mold and clean promptly. -
Watering and Fertilization:
Adjust practices to reduce excess salts and promote healthy soil. -
Sunlight and Ventilation:
Place pots in well-lit, ventilated areas to discourage mold growth.
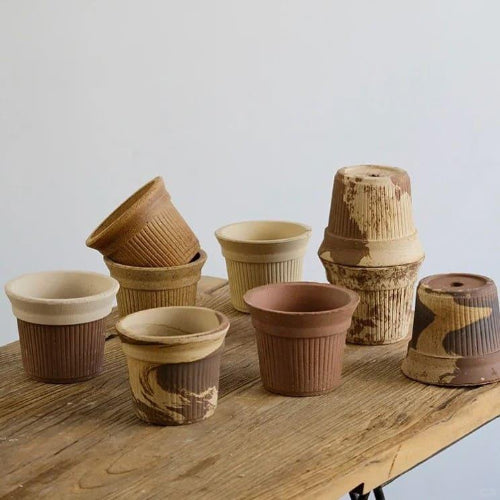
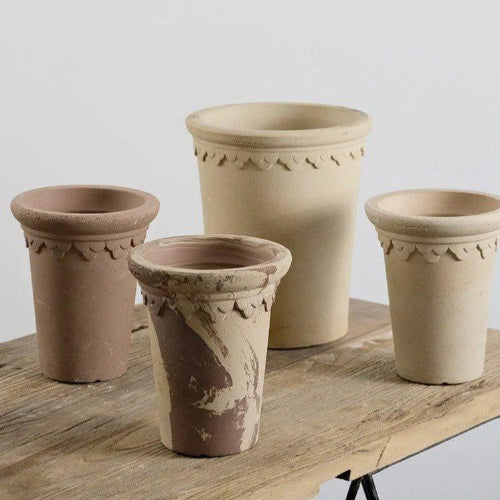
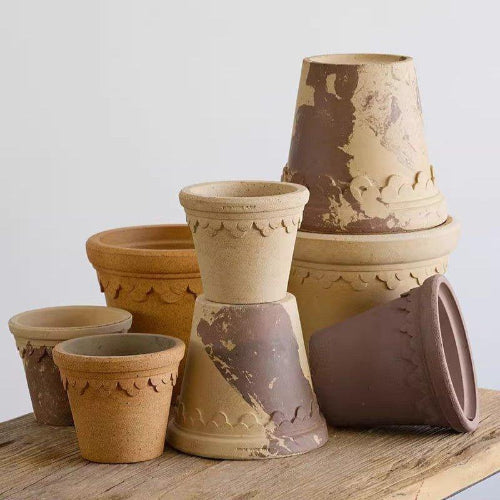
Our terracotta pots are crafted with high-temperature firing techniques, resulting in a denser, more durable structure compared to standard clay pots. This process significantly reduces the risk of alkaline efflorescence (commonly known as "pot bloom"), helping to maintain both the aesthetic of the pot and the health of your plants. Each pot undergoes strict quality control to ensure excellent craftsmanship, making our products not only long-lasting but also ideal for those who value quality and reliability in their gardening experience.