Ultimate Spring Repotting Guide: When, Why, and How
Spring is the season of renewal—not just for nature but also for your potted plants. As temperatures rise and daylight hours increase, plants awaken from their winter dormancy, making it the perfect time to refresh their growing environment. Repotting is a crucial step in plant care, yet many plant enthusiasts are unsure when and how to do it correctly. In this guide, we’ll dive into the science behind repotting, provide step-by-step instructions, and highlight common mistakes to ensure your plants thrive in their new home.
Why Is Spring the Best Time for Repotting?
Repotting isn’t just about moving a plant from one pot to another—it helps rejuvenate the root system, prevent diseases, and encourage healthy growth. Spring is the ideal season for repotting for several reasons:
- Active Growth Phase: Plants emerge from dormancy and start producing new roots and leaves, making them more adaptable to transplantation.
- Optimal Soil Conditions: Spring’s moderate temperatures allow the soil to retain moisture without becoming overly wet, reducing the risk of root rot.
- Longer Daylight Hours: Increased sunlight provides the energy plants need to recover from transplant shock and establish themselves in fresh soil.
Does Your Plant Need Repotting?
Not all plants require repotting every spring, but if you notice any of the following signs, it’s time to give your plant a new home:
- Roots Growing Out of Drainage Holes: Indicates the plant is root-bound and needs more space.
- Slow Growth or Wilting Leaves: If your plant struggles despite proper care, the old soil may be depleted of nutrients.
- Water Drains Too Quickly: Compact soil can hinder water retention, preventing roots from absorbing moisture effectively.
- Yellowing or Drooping Leaves: Could be a sign of oxygen deprivation or root rot, requiring immediate soil assessment.
Step-by-Step Guide to Spring Repotting
1. Gather Your Supplies
Before repotting, make sure you have the following items:
- A new pot (1-2 inches larger than the current one)
- High-quality potting mix suitable for your plant
- Gardening gloves and a small trowel
- Scissors or pruning shears
- A watering can
2. Prepare the New Pot
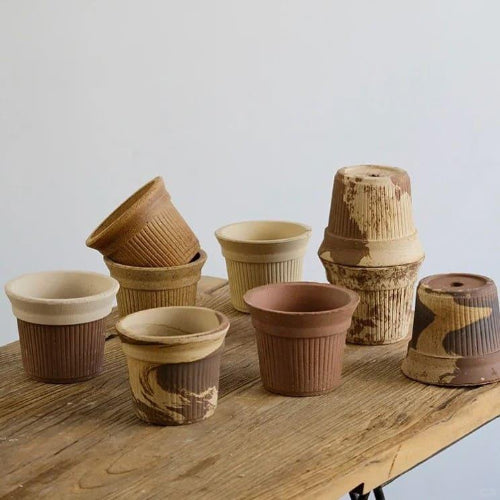
- Opt for Terracotta Pots: Their breathability helps regulate moisture levels.
- Check for Drainage Holes: Ensure proper drainage to prevent waterlogging.
- Add a Layer of Fresh Soil: Provides a stable base for the plant.
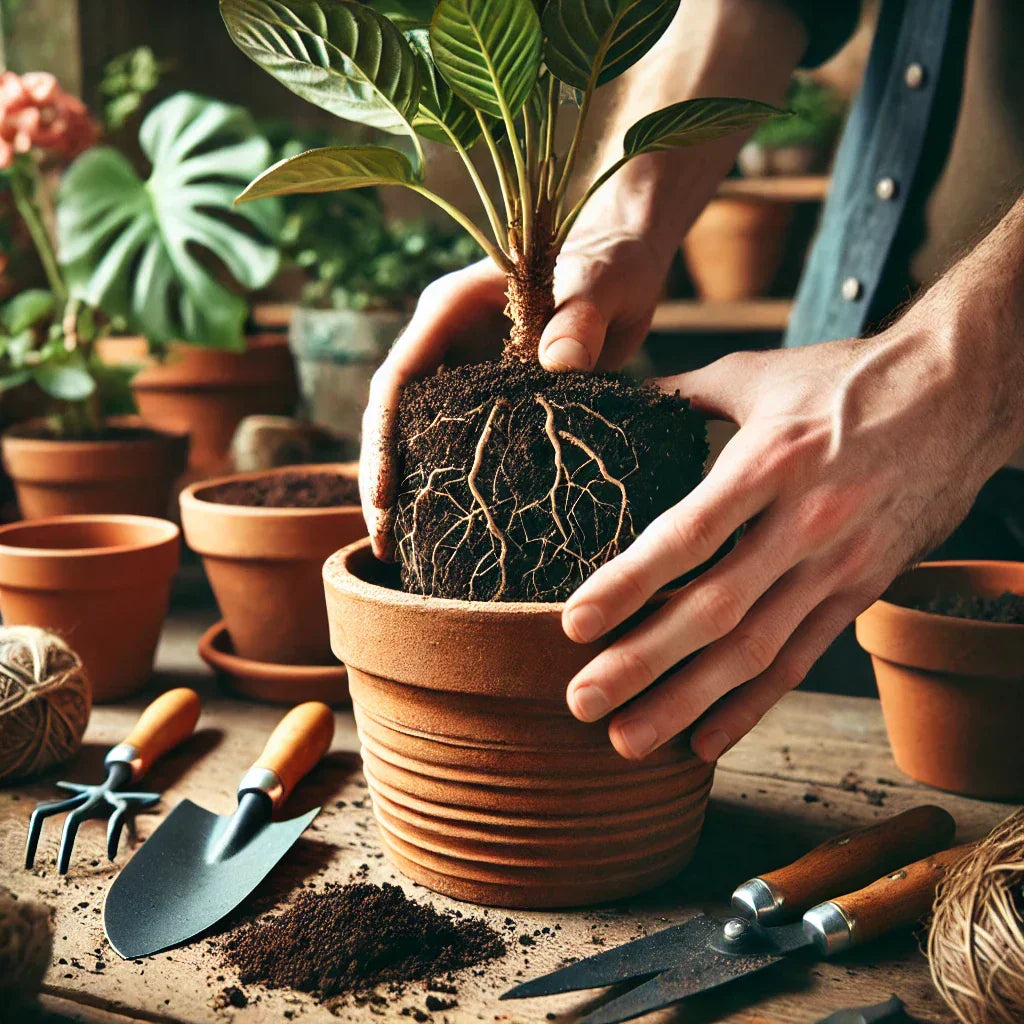
3. Remove the Plant
- Gently Tap the Pot’s Sides: Loosen the root ball for easier removal.
- Tilt the Pot and Carefully Slide Out the Plant: Avoid pulling forcefully.
- If Roots Are Tightly Wound: Lightly tease them apart to encourage outward growth.
4. Prune and Inspect the Roots
- Trim Dead, Rotting, or Overgrown Roots: Use clean scissors for precise cuts.
- If Roots Are Circling the Bottom: Trim slightly to stimulate new growth.
- If Root Rot Is Present (Black, Smelly Roots): Cut away damaged areas and let the roots dry for a few hours before repotting.
5. Replant in Fresh Soil
- Position the Plant in the New Pot: Ensure the root base sits at the same depth as in the old pot.
- Fill with Fresh Potting Mix: Gently press the soil to remove air pockets without compacting it too tightly.
- Leave About an Inch of Space at the Top: Prevents soil overflow during watering.
6. Water and Adjust
- Water Thoroughly: Helps settle the new soil around the roots.
- Place in an Appropriate Light and Temperature Setting: Avoid direct sunlight immediately after repotting.
- Delay Fertilizing: Wait 2-3 weeks before feeding to allow roots to adjust.
Common Repotting Mistakes to Avoid
- Using an Oversized Pot: Too much soil retains excess moisture, increasing root rot risk.
- Neglecting Root Inspection: Untrimmed damaged roots may continue to cause issues.
- Overwatering After Repotting: Newly repotted plants need time to adapt; excessive watering adds stress.
- Repotting in Extreme Weather: Avoid repotting during heat waves or cold spells to prevent transplant shock.
Final Thoughts
Spring repotting is one of the best ways to keep your plants healthy and promote vigorous growth. By choosing the right timing, using proper techniques, and selecting suitable materials, your plants will thrive in their new terracotta pots. Whether you’re a beginner or an experienced gardener, these practical repotting tips will help your plants adjust to fresh soil and flourish throughout the season!
Check out clayware pots now for the best repotting experience!

