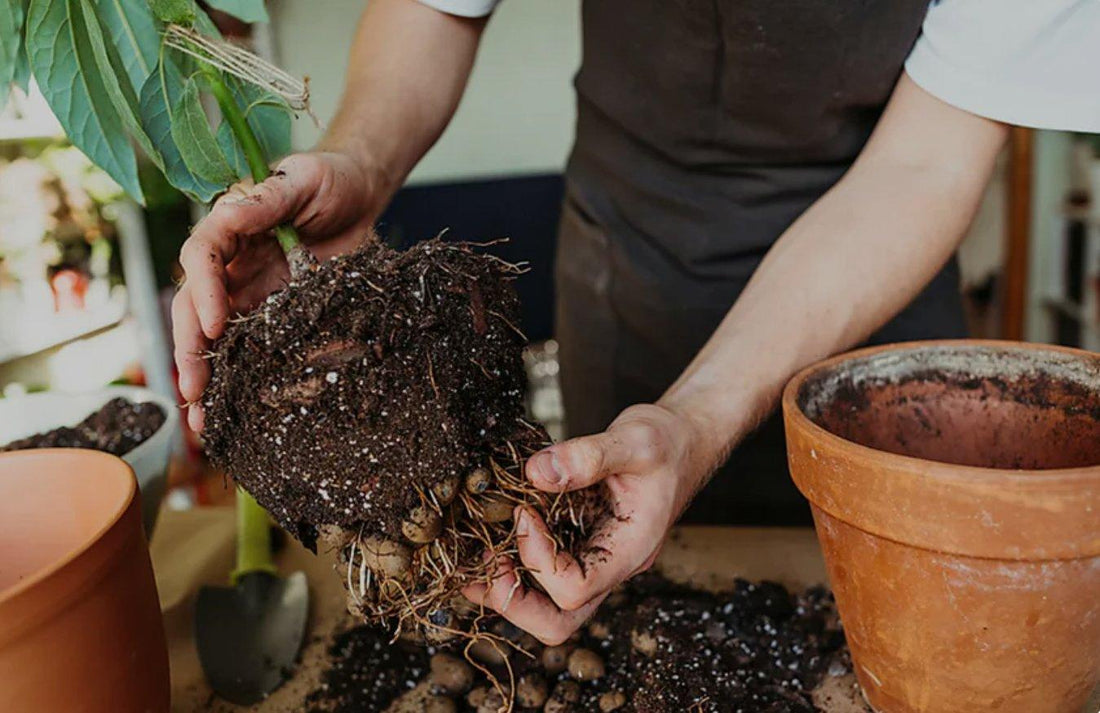
During the flowering period of a plant, or when temperatures are high, it's prohibited to change its pot. Here, I'll introduce the steps for repotting a plant:
1. First, prepare the pot and the seedling. The pot should be about 1-2 inches larger than your current planter. Dont get planter way larger than your current one. Many flowering plants need to be kept in relatively small pots to bloom more easily, as this creates a sense of constriction for the plant's roots, making it easier for the plant to produce flowers. Additionally, if the pot is too large, it becomes difficult to control watering, resulting in soil that is too moist for the plant over a long period, leading to leggy growth or even root rot.

2. Place a mesh material at the bottom of the new pot to cover the drainage holes, preventing soil loss or entry of small insects.

3. To ensure proper drainage and aeration, place small stones or expanded clay pellets at the bottom of the pot, filling about 1/5 to 1/6 of the pot's height.

4. Add potting soil up to 1/3 of the pot's height, choosing soil with good drainage and water retention capabilities, such as peat soil, or mix in an appropriate amount of small volcanic rocks or similar materials to improve the soil's properties.

5. Add a small amount of slow-release fertilizer as a base fertilizer. The specific dosage can be referred to the instructions on the fertilizer package, but remember not to use too much. Especially with chemical fertilizers, excessive use can lead to a high nutrient concentration in the soil solution, which is detrimental to seed germination. High nutrient concentrations can scorch seeds, harm seedlings, and inhibit plant growth.

6. After mixing the potting soil and fertilizer, add the mixture to the flower pot. This ensures that there is a certain separation between the plants and the fertilizer, preventing fertilizer burn.

7. Take the pot used before transplanting and place it inside the new pot to compare heights. Stop adding soil once the level is slightly lower than the new pot.

8. Gently hold the stem with your fingertips, being careful not to harm it.

9.Insert your fingers from the bottom and gently push the seedling out.

10.Trim the parts of the root that are tangled or wrapped around slightly.

11. Gently loosen the roots and soil without breaking them apart.

12. Place the new seedling in the center of the pot, ensuring it's not tilted, and then fill the pot with soil.

13.Gradually add soil up to 1inch from the edge of the pot, leaving the remaining space for watering.

14. Water the plant to ensure the roots are well-settled, then place it in a semi-shaded area for 2-3 days. If it is autumn or winter, place it under warm sunlight.


